
Lottie animations can bring your Webflow site to life, but heavy JS can tank your PageSpeed scores. In this tutorial, you’ll learn how to defer the full Lottie runtime until the moment each animation scrolls into view. The result? Initial loads drop 90 KB of unused JS, and your website performance significantly improves, decreasing page load times, total blocking time, and increasing first contentful paint and speed index.
Why lazy-load Lottie animations?
- Improved First-Load Speed: Remove unused JS from the critical path.
- Higher SEO Rankings: Faster pages boost Core Web Vitals, improving search visibility.
- Seamless UX: Animations still loop and play smoothly on scroll-into-view.
Step 1: Host your Lottie JSON in Webflow
- In the Webflow Designer, open Assets → Upload.
- Add your exported .json animation files (don’t use .lottie/.dotlottie for this method).
- Copy the asset URLs for use in your embeds.

Step 2: Place lightweight code embed placeholders
Replace Webflow’s native Lottie component with a simple <div> placeholder in a form of a code embed:
<div
  class="lottie-trigger"
  data-path="https://cdn.website-files.com/…/animation.json"
></div>
In this code embed everything is simple:
- class="lottie-trigger" — target for our script
- data-path — points to your JSON asset
Make sure to also double-check that your code embed is set within a div block that has an explicit width or height to make sure that the lottie renders properly. You can also set the width and height directly within this code embed. Here is an example:
<div
  class="lottie-trigger"
  data-path="https://cdn.website-files.com/…/animation.json"
  style="width:100%; max-width:400px; height:300px;"
></div>
Step 3: Add code & lazy-load the full Lottie runtime
Paste this snippet into Page Settings → Before </body> or Project Footer. It uses IntersectionObserver and dynamic <script> injection to defer the ~90 KB Lottie build until scroll-into-view:
<script>
document.addEventListener('DOMContentLoaded', () => {
  const els = document.querySelectorAll('.lottie-trigger');
  let lottiePromise;

  // Lazy-load full Lottie UMD once
  function loadLottie() {
    if (!lottiePromise) {
      lottiePromise = new Promise((res, rej) => {
        const s = document.createElement('script');
        s.src     = 'https://cdnjs.cloudflare.com/ajax/libs/lottie-web/5.10.1/lottie.min.js';
        s.async   = true;
        s.onload  = () => res(window.lottie);
        s.onerror = () => rej(new Error('Failed to load Lottie'));
        document.head.appendChild(s);
      });
    }
    return lottiePromise;
  }

  // Observe placeholders and initialize on scroll
  const io = new IntersectionObserver((entries, obs) => {
    entries.forEach(async entry => {
      if (!entry.isIntersecting) return;
      const el = entry.target;
      try {
        const lottie = await loadLottie();
        lottie.loadAnimation({
          container: el,
          renderer:  'svg',
          loop:      true,
          autoplay:  true,
          path:      el.dataset.path
        });
      } catch(err) {
        console.error('Lottie load failed:', err);
      }
      obs.unobserve(el);
    });
  }, {
    rootMargin: '0px 0px 200px 0px',
    threshold:  0.1
  });

  els.forEach(el => io.observe(el));
});
</script>
How this script works
- IntersectionObserver watches each .lottie-trigger
- On first visibility, inject the full Lottie UMD bundle (~90 KB gzipped).
- Call lottie.loadAnimation() with baked-in shadows & filters.
- unobserve() ensures each animation loads just once.
Step 4: Publish & Measure
First, publish your Webflow site, as custom code doesn’t run in Designer preview. Make sure to closely check that all of your lotties look as they should.
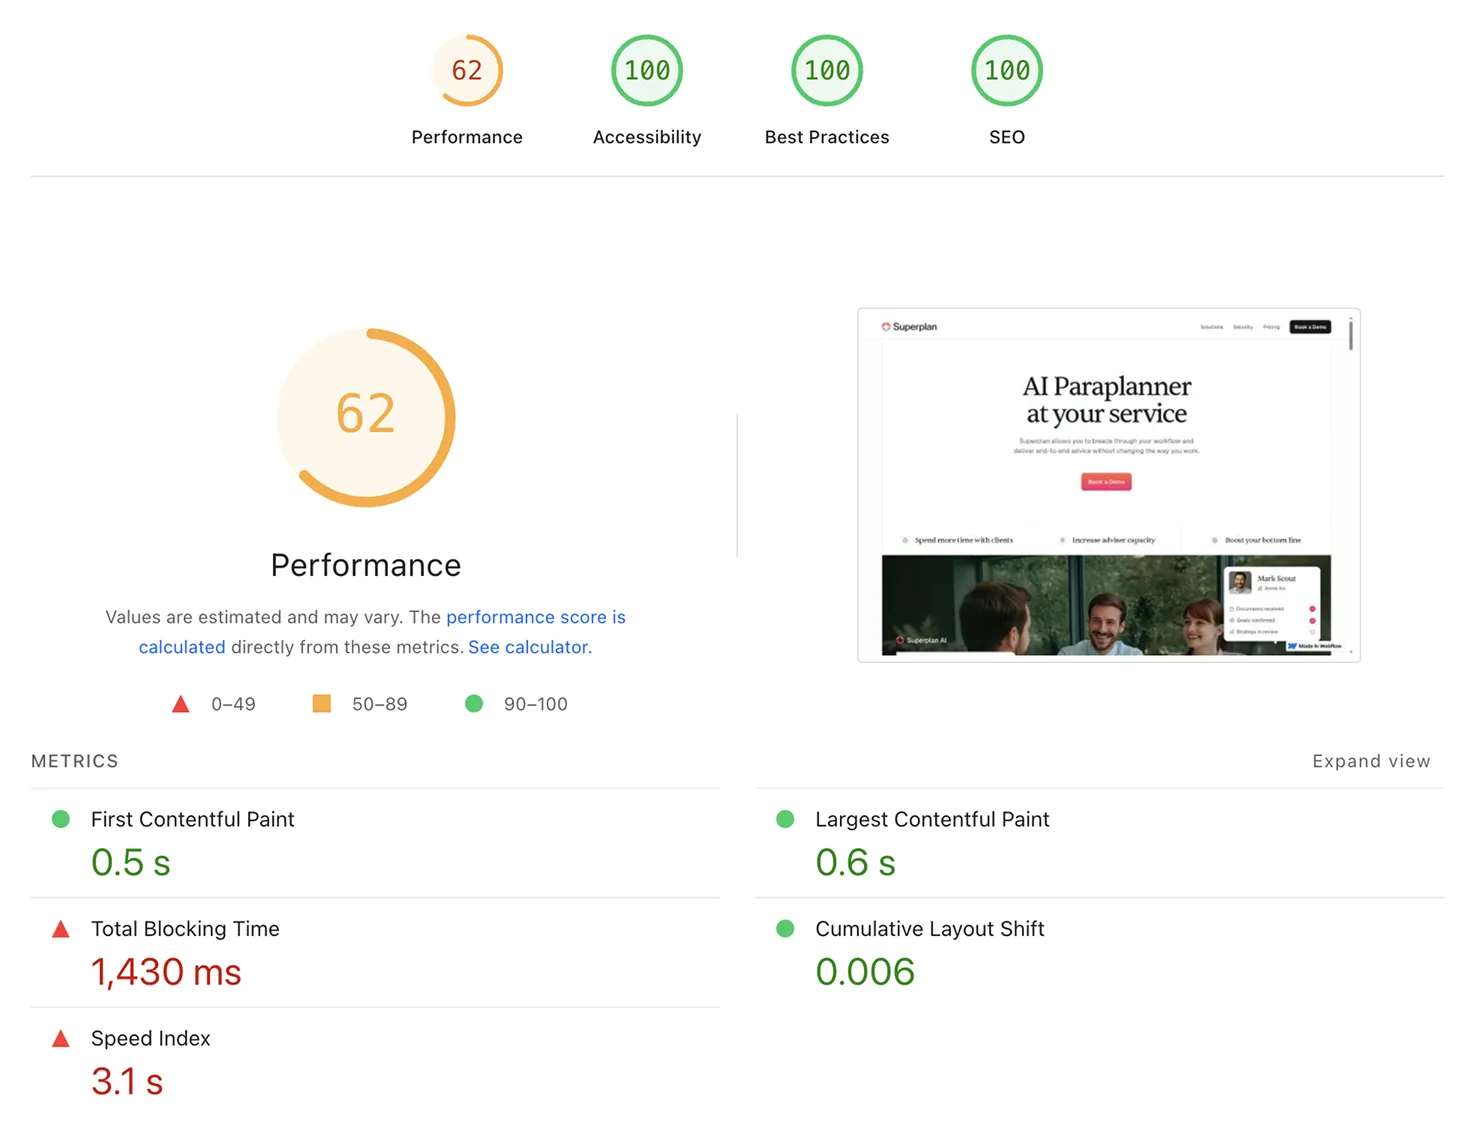
Next, run PageSpeed Insights and enjoy boosted performance scores. In my website I saw a huge increase in performance using this method, with the score jumping from 65 on to 99 on desktop and 50 to 93 on mobile.

Conclusion
By lazy-loading the full Lottie runtime via dynamic script injection and IntersectionObserver, you get:
- Dramatically improved Webflow performance
- SEO gains through better PageSpeed Insights
- Full support for After Effects shadows, filters, and loops
Plus, the best part about this solution is that it perfectly works for as many lotties as you would like to embed on your website without bloating the JS size of your website.
Deploy this pattern today to optimize your Webflow site with stunning, yet performant, Lottie animations!


.webp)